Acrylic signs have changed the way businesses and designers create designs and place promotional signs. From illuminated shop signs to office plaques, acrylic signage delivers a high-end appearance. The key to designing professional acrylic signs is to choose quality materials, master the design process, and use the best application techniques. In this article, we’ll discuss everything you need to know to create professional-grade acrylic signs with confidence.
Who Can Use Acrylic Signs?
- Retailers & businesses find these signs a convenient way for storefront signage, branding, and displays.
- In corporate offices, you can use these signs for brand logos and meeting room labels.
- At wedding events, these signs can be used to create welcome signs, seating charts, and other decoration pieces.
- Restaurants can use such signage for menu boards, tables, and promotional banners.
- Trade shows can easily create attention-grabbing booths from these signs.
Types of Acrylic Used in Signage
Clear Acrylic
This signage has a smooth surface that can be used with UV printing and laser engraving. Businesses choose this material for professional signage that needs to maintain a chic appearance. You can go for this option if you are looking for illuminated signs, where the use of backlighting can enhance visibility.
Frosted Acrylic
It works for engraved signage, where the use of contrast between the frosted background and the engraved text creates a compelling appearance. Moreover, stores and offices use this acrylic for branding and directional signs that give you a premium feel.
Colored Acrylic
From logo displays or promotional boards, colored acrylic eliminates the need for painting. It offers a uniform color throughout and guarantees longevity when cut. Many entertainment venues use colored acrylic to create vibrant signage that stands out.
Mirrored Acrylic
It is available in silver, gold, and tinted variations; mirrored acrylic is used for upscale signage in luxury boutiques and hotels. It increases depth and can be used for nameplates and brand logos. The reflective nature of these signs makes them noticeable, and you have to be very careful when placing these signs so there will be no glare.
Textured Acrylic
It can be used for artistic signage, retail branding, and restaurant menus, where touch and appearance affect customer experience. Such acrylic can be used in traffic areas where signs are exposed to more wear and tear.
Tools and Materials You Need for Acrylic Signs
Tools:
- Acrylic sheet cutter
- Laser cutter (optional)
- Jigsaw with a fine-tooth blade
- Drill with acrylic-compatible bits
- Sandpaper or polishing tool
- Heat gun (for bending acrylic)
- Ruler and measuring tape
- Masking tape
- Paintbrushes or spray gun (for painted signs)
- Squeegee (for vinyl application)
- Gloves (for handling acrylic)
Materials:
- Acrylic sheets (clear, frosted, colored, or mirrored)
- Adhesive vinyl
- Acrylic paint or spray paint
- UV-resistant ink (for printed signs)
- Mounting hardware (standoffs, brackets, or adhesive tape)
- Protective film or sealant
- LED strips (for illuminated signs)
Techniques To Create Acrylic Signs
Engraved Signs
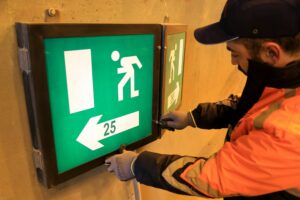
You can see these signs mostly displayed as office plaques, directional signage, and decorative branding. There is not much you need to do with these signs, and they can be left as is for a subtle design or filled with paint for contrast. It allows these signs to stand indoors and outdoors, as the design won’t fade. LED backlighting can enhance the engraved details.
Printed Signs
You can easily use these signs for business branding, store displays, and menu boards. UV printing bonds the ink to the acrylic and confirms durability. These signs can be single-layered for a minimalist look or double-layered to create a floating effect.
Painted Signs
You can go about such sign designing by using brushes, with spray paint for an even finish, or using stencils for precise designs. For durability, these enamel-based paints work best, as they adhere to the surface without chipping. A clear sealant can be applied to protect the paint from scratches.
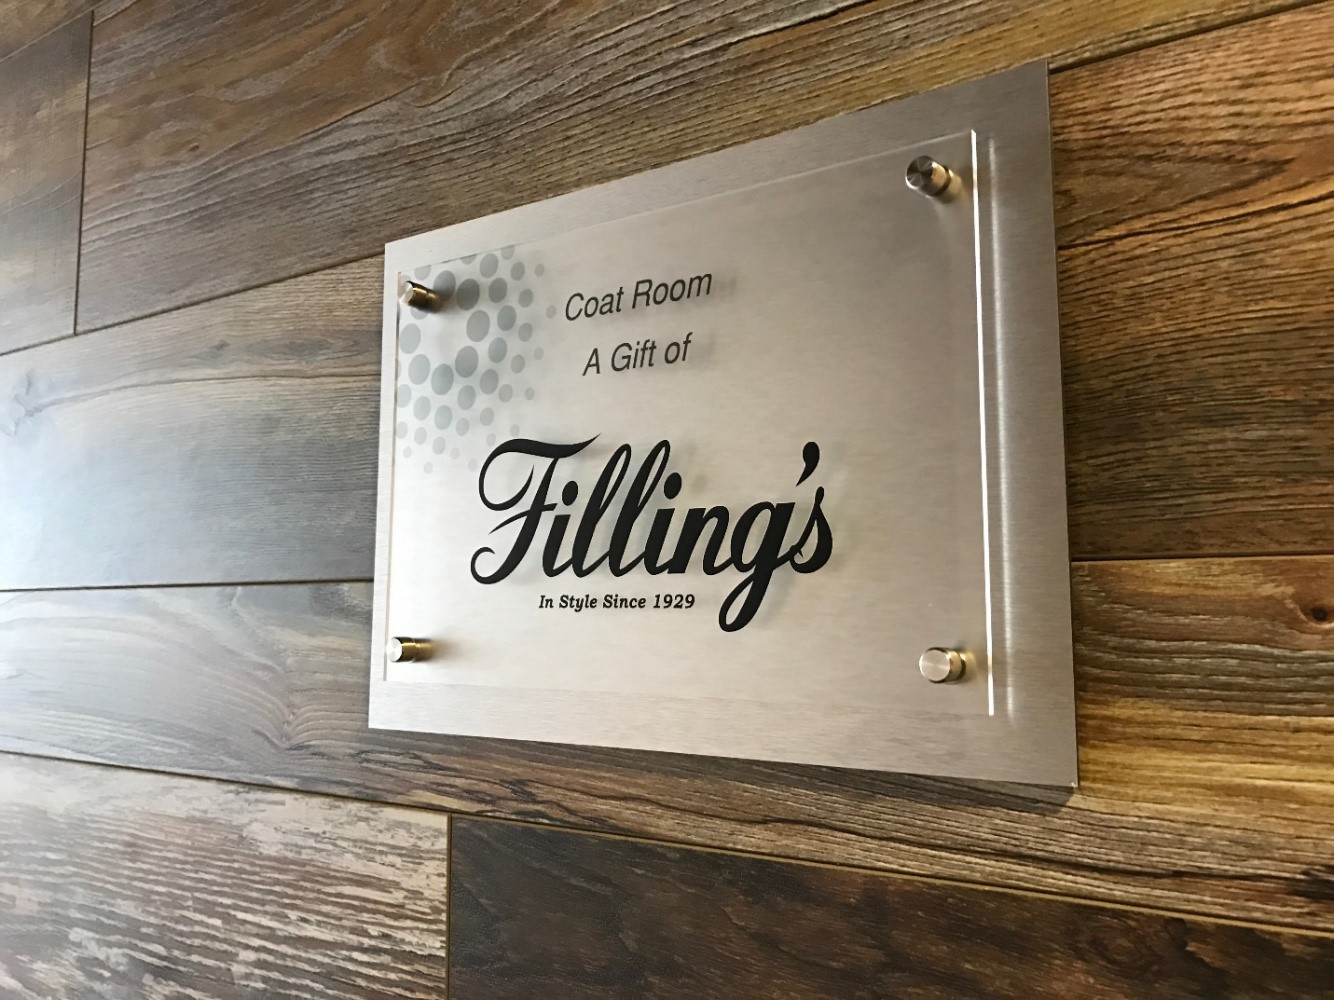
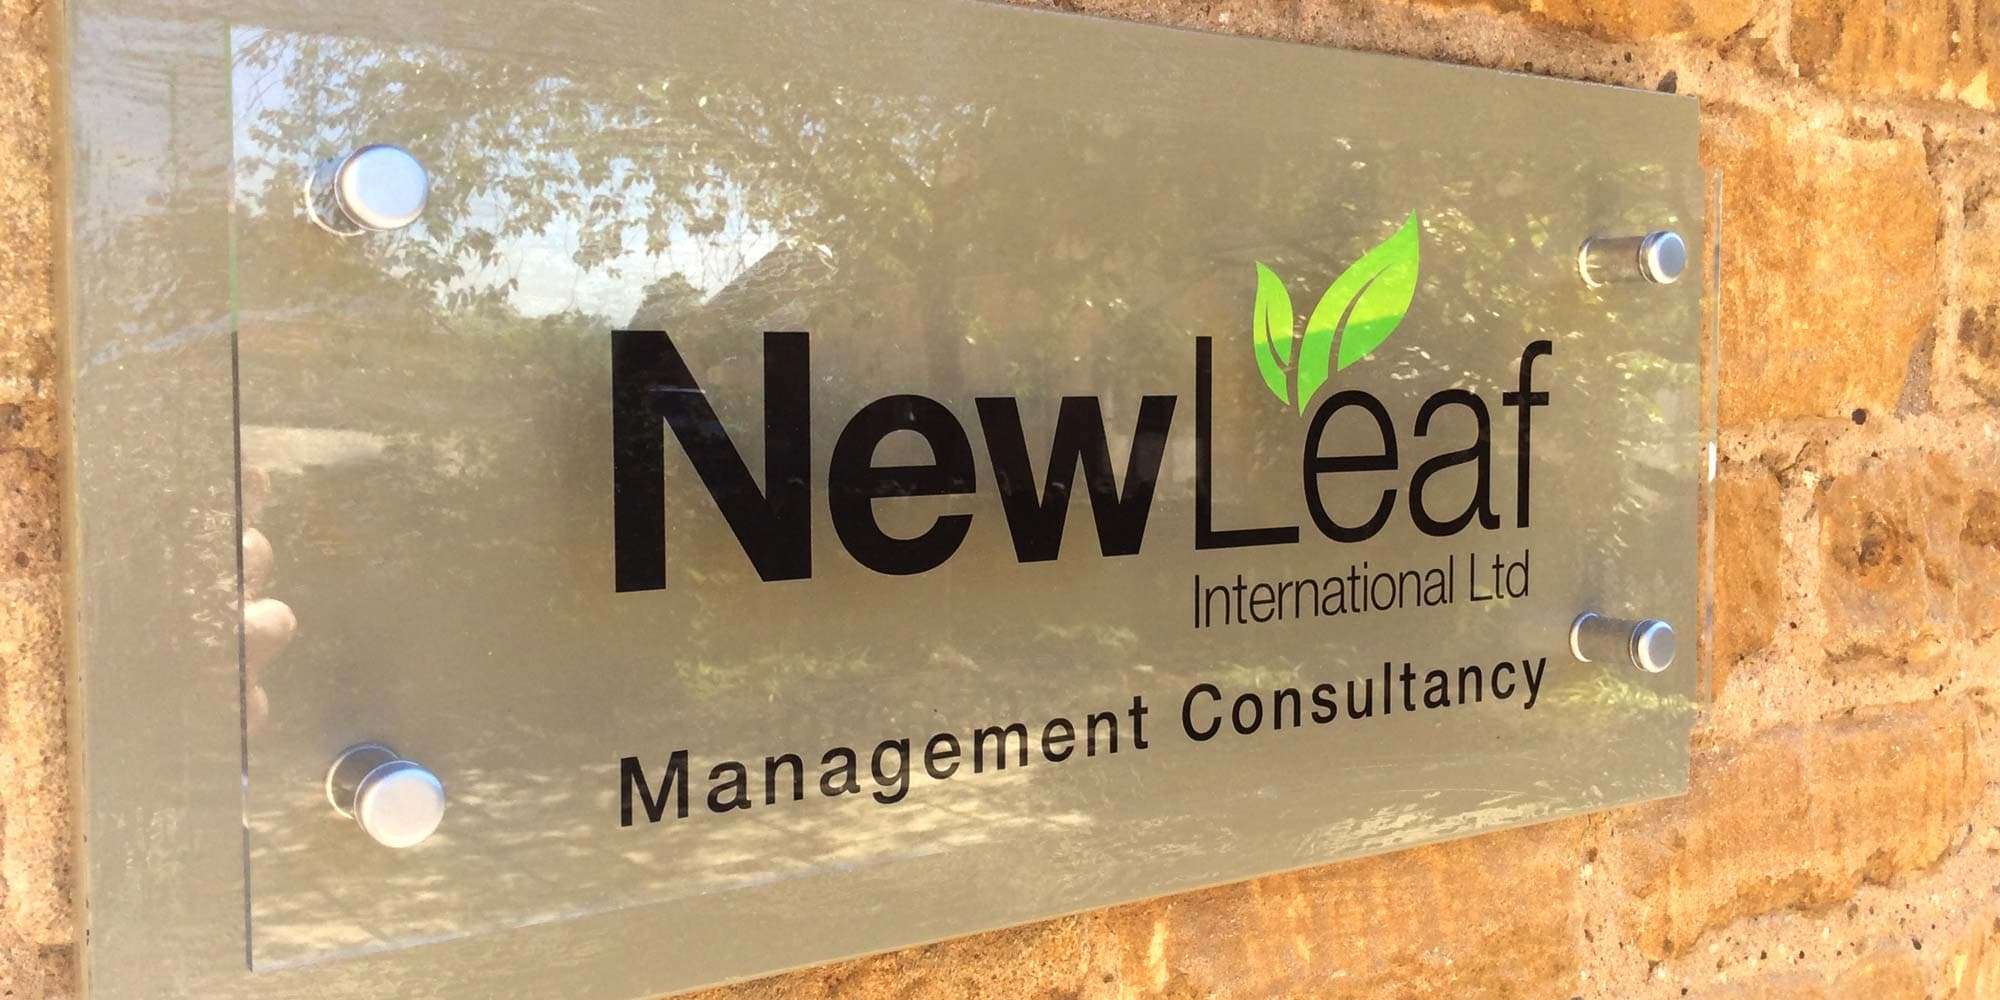
Layered Signs
If you are thinking of creating signs for logos, business signs, and wayfinding, layered signage adds depth to our design. You can also layer the clear acrylic with frosted acrylic to create contrast, while different finishes can be combined for a dynamic design. Some signs feature a base layer with raised graphics on top. Businesses use this signage technique for impactful branding that enhances visibility.
Guide to Making an Acrylic Sign
Create Your Design
You really need to design your sign using any graphic design software, like Adobe Illustrator or Canva. For this, you must consider the size, font style, and colors to ensure clarity and nice aesthetics. If you’re printing on acrylic, use vector graphics for sharp results. For layered signs, plan the positioning of each element. Before finalizing, you can print a mock-up on paper to check the proportions. If using vinyl lettering or decals, ensure alignment.
Cut the Acrylic
Professionals recommend a laser cutter as it provides the cleanest edges, but a jigsaw with a fine-tooth blade also works well. Secure the acrylic with clamps and use masking tape along the cutting line to prevent chipping. For curved cuts, move the blade slowly to avoid cracks. After cutting, smooth the edges with sandpaper to get a more refined finish.
Apply Graphics or Text
If engraving, adjust the laser power for the right depth. For printed designs, make sure the acrylic is properly clean and dry before you apply UV ink. If using vinyl decals, use a squeegee to remove air bubbles. For painted signs, use hand-paint carefully. If you lay multiple acrylic sheets, you can start aligning each layer before adhering. It also determines the overall look, so take your time to ensure accuracy.
Add Protective Coatings
For painted signs, you can use clear acrylic to prevent all sorts of chipping. For instance, if you want a glossy finish, apply a thin layer of acrylic polish. For outdoor signs, use UV-resistant coatings to prevent peeling. If the sign will be frequently handled, an anti-scratch coating is something you should go for.
Mounting Your Sign
Standoff mounts create a floating effect, and adhesive tapes offer a seamless look. For installations, use a drill bit designed for acrylic to prevent cracks. If using screws, add rubber washers to prevent overtightening. Hanging signs may require chains for support. Proper mounting enhances the sign’s visibility and creates a polished display.
How to Make a Neon Sign on Acrylic
Key Steps:
- Design and print your layout.
- Mark and drill holes for wiring.
- Secure LED neon flex strips onto the acrylic.
- Connect and conceal the wiring.
- Test and mount your finished sign.
Design your sign digitally, ensuring smooth curves and lettering. Print and tape the design onto the acrylic sheet as a guide. Drill small holes for the wiring, then attach the LED neon strips using adhesive clips. You have to carefully bend the strips to follow the design and secure them in place. Once attached, connect the power source and test the lights.
Common Mistakes You Should Avoid
- Overly complex fonts or cluttered layouts reduce readability.
- Thin sheets can warp, while overly thick sheets may be harder to cut.
- Fast or rough cutting can cause chipping and cracks.
- Not cleaning the acrylic before applying vinyl, paint, or printing leads to poor adhesion.
- Incorrect drill bit usage instead of acrylic-compatible ones can cause cracks.
- Misaligned graphics create an unprofessional look and affect readability.
- Not sealing painted signs; without a protective coating, the paint may chip, fade, or wear off over time.
- Over-tightening screws during mounting and excess pressure can crack the acrylic.
- Ignoring lighting placement for neon signs and uneven LED distribution results in patchy illumination.
- Skipping protective film removal at the wrong time or removing it too soon exposes the acrylic to scratches; leaving it too long can cause difficulty in peeling.