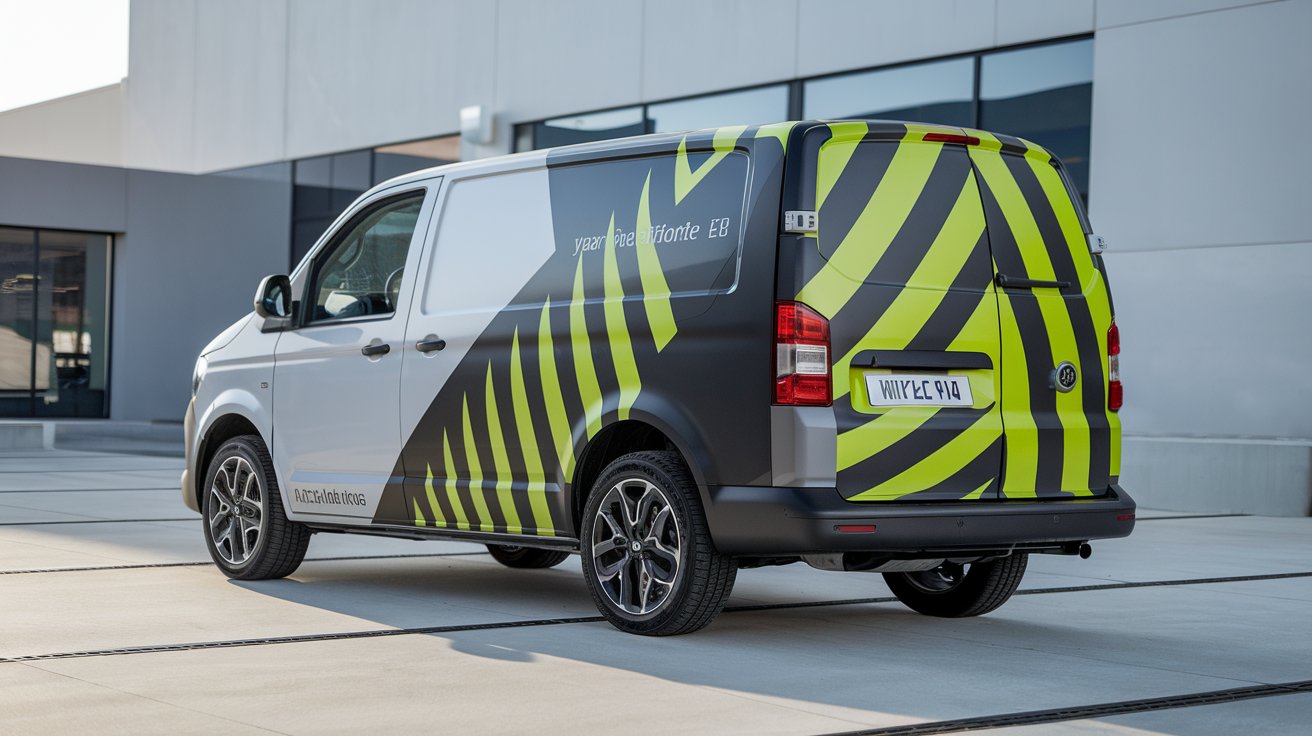
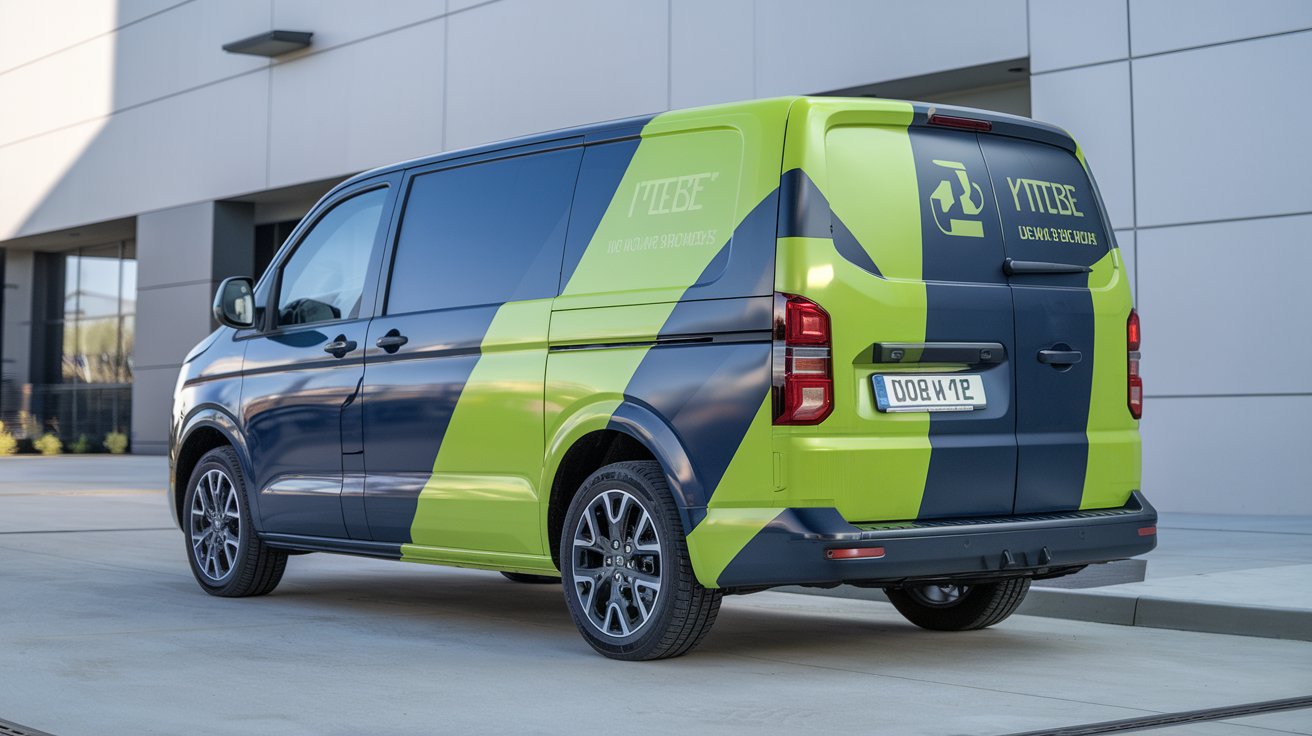
Every vehicle owner wants his vehicle to stand out. Vehicle graphics are an impactful way to transform your commercial or personal vehicle, promote a business, or just affordably personalize your vehicle. Vehicle graphics are of many types. They include vehicle wraps, vinyl letters, decals, perforated graphics for windows, reflective vinyl sheets or safety tapes, and carbon fiber wraps.
No matter which graphic type you select to customize your vehicle, it is crucial to carry out the installation process properly and professionally. Customizing vehicles with graphics is always worthwhile if you avoid improper or unprofessional practices, whether you are doing it yourself or planning to hire a professional installer.
Understanding Vehicle Graphics and Their Benefits
Vehicles with advertisements or promotions act as the mobile marketing unit for a business or brand. For a vehicle owner, different types of graphics help to make their vehicle stand out among other vehicles. Customized vehicles with different types of graphic elements reflect the taste and personality of their owners.
Increase in Visibility
Enhancement in brand visibility is the major benefit of vehicle graphics, giving your business constant exposure. With advertisements on a vehicle, you can extend your reach to the tens of thousands of audience as the van or car with advertising or promotions on it travels through the city, attracting the attention of thousands of potential customers.
Cost-Efficient Marketing
Vehicle graphic options provide low-cost but high-efficiency advertisements compared to other traditional advertising methods. Compared to cost, it attracts a much larger volume of potential customers
Customization
You can tailor your vehicle graphics according to your brand message, budget, and your brand’s logo, color, or design. Customization is one of the key benefits of vehicle graphics. For personnel customization, vehicle owners have a variety of options in color and design to reflect their tastes.
Vehicle’s Paint Protection
Besides the advertisement and customization, it comes with additional benefits as it acts as the second skin above the paint, and it protects the original paint beneath, from environmental wear and tear as well as from physical abrasions and scratches.
Easy to Remove
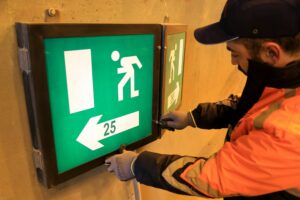
No matter what kind of graphics your vehicle is wearing, it is always reversible with ease to make room for any other advertisement or customization. It can be removed, ensuring no damage to the surface and paint.
How to Prepare Your Vehicle’s Surface for Graphics
The preparation process for vehicle graphic installation is not one size fits all. But some basics
Soap Cleaning
For any type of graphic installation, clean the surface with soapy water to get rid of dirt or any kind of organic material, including bird droppings, bug splatters, or tree sap.
Isopropyl cleaning
After water cleaning, the surface is wiped with isopropyl alcohol as IPP effectively removes any kind of grease, oil residue, or wax that is left behind after water wash.
Surface inspection
After cleansing, inspect the surface thoroughly. If any dent, damage, or imperfection is spotted, clear it to smooth the surface before applying the graphic. Make sure that the surface is completely dry.
Step-by-Step Guide to Installing Vehicle Graphics
The installation process differs slightly for different types of vehicle graphics. Some key steps that cover most of the graphic types are discussed here.
Materials and Necessary Tools
- Gather graphic material
- Heat gun or hair dryer
- Masking Tape
- Utility knife
- Lukewarm Soapy Water
- Microfiber Towel
- Scissors
- Squeegee or Plastic Scraper
- Gloves
Measurement and Plan
Before application, make sure of the measurement and alignment of everything. Finalize the spot where the graphic is to be installed. If installing graphics on a large area, use masking tape for better alignment.
Peeling and Applying
Once you are confident about measurements and alignments, it’s time to apply the graphic material. Peel off the upper tip of the decal slowly and start applying from top to bottom. For large-sized graphics, start applying from one side with a plastic scraper and then slowly progress to the other side to avoid any imperfections.
Wipe Away Liquid and Dry the Surface
Once the graphic is applied, remove any residual soapy water or liquid and dry the surface completely.
How to Maintain and Protect Vehicle Graphics for Longevity
Mostly, vehicle graphics are made from high-quality vinyl that is designed to withstand environmental wear and tear. Avoid applying graphics on sharply curved areas or rubber surfaces as the adhesive does not stick on such places properly. Do not do the installation process under the sun. Avoid sun exposure in parking, even after installation, for better longevity of the graphic.